
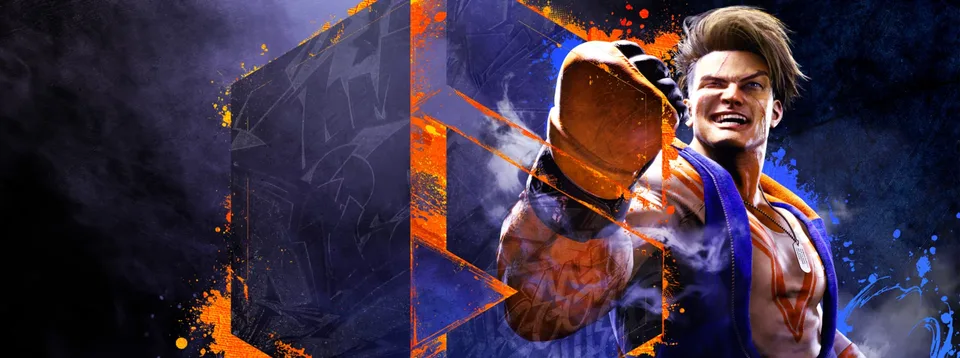
Ken Masters has returned to the arena with more fire than ever, establishing himself as a top-tier choice in Street Fighter 6. Whether you are a veteran of the series or a newcomer looking to pick up a high-pressure character, understanding how to effectively pilot this legendary fighter is essential for climbing the ranked ladder.
Understanding Ken's Offensive Philosophy
Ken is designed for players who love to dictate the pace of the match. Unlike his former training partner Ryu, who excels at mid-range projectile zoning, Ken is a "shoto" variant that thrives in close-to-mid-range combat. His game plan revolves around "inflammatory pressure"—keeping the opponent guessing with ambiguous blockstrings and constant forward movement.
According to community resources from SuperCombo Wiki, Ken’s strength lies in his ability to drag opponents into the corner from almost any successful opening. By mastering his "Quick Dash" and "Jinrai Series" kicks, you can transform a single hit into a devastating sequence that depletes your opponent’s Drive Gauge and health bar simultaneously.
| Strength | Description |
|---|---|
| Corner Carry | Exceptional ability to push opponents across the screen. |
| Pressure | High offensive potential with frame traps and resets. |
| Combo Expression | Versatile routes allowing for creative damage output. |
Essential Normal Attacks and Poke Strategy
To play a competitive Ken, you must understand your neutral buttons. Your pokes are the gateway to your offense. The Standing Heavy Punch (5HP) is arguably your best tool; it has a long range, is cancelable, and moves you forward. When you connect with a 5HP, you can confirm into a Run~Shoryuken for damage or Run~Tatsu for positional advantage.
Another critical button is the Crouching Medium Kick (2MK). As a 7-frame low, it is your most consistent way to start a conversion. Because Ken has such strong cancel options, you can safely cancel 2MK into a Medium Jinrai Kick on block. This keeps you safe while forcing the opponent to respect your turn.
Frame Data Highlights for Key Normals
| Normal | Startup | On Hit | On Block | Usage |
|---|---|---|---|---|
| 5LP | 4f | +4 | -1 | Fast check, hit-confirm tool |
| 5MP | 5f | +4 | -2 | Close-range pressure, TC starter |
| 5HP | 10f | +3 | -2 | Long-range poke, whiff punisher |
| 2MK | 7f | -2 | -6 | Primary low poke, Drive Rush starter |
Tip
Always buffer a Quick Dash behind your mid-range 2MP pokes. This allows you to confirm into a Run~Shoryuken instantly if the hit connects, maximizing your damage without needing a complex hit-confirm window.
Mastering the Jinrai Series (Rekka Pressure)
The Jinrai Kicks are the heart of Ken's modern playstyle. Think of them as a "Rekka" system—you initiate the move, and then choose a follow-up based on the situation.
- Kazekama Shin Kick (6LK): The low follow-up. Use this to catch opponents who are crouch-blocking or trying to wait out your pressure.
- Gorai Axe Kick (6MK): The overhead follow-up. This is your high-risk, high-reward option to catch opponents blocking low.
- Senka Snap Kick (6HK): The knockdown ender. Use this when you are confident the Jinrai sequence will hit, as it provides the best advantage for setting up your next move.
Players often struggle with the timing of these follow-ups. Community reports suggest that delaying the follow-up slightly can create frame traps, causing the opponent to press a button and get counter-hit. However, be wary of "Perfect Parry"—if you become too predictable with your Jinrai strings, your opponent will parry the follow-up and reclaim the initiative.
Defensive Tactics and Anti-Air
Ken’s defensive game is anchored by his Shoryuken. While it is a classic move, its application in Street Fighter 6 has evolved. The Light Shoryuken (LP) is your best anti-air tool due to its fast startup and invincibility frames. If an opponent is jumping in from a distance, the MP or HP versions offer better reach at the cost of slower startup.
When you are in the corner and under heavy pressure, the OD Shoryuken is your primary "get out of jail free" card. It features full invincibility during the startup, making it a reliable way to break through blockstrings. Keep in mind that using it carelessly is dangerous—if the opponent baits it, you will be left in a highly punishable state.
Advanced Combo Routes and Drive Rush
The key to high-level play is utilizing the Drive Rush system to its fullest. By canceling a normal into a Drive Rush, you gain +4 frame advantage, allowing you to link moves that would otherwise be impossible.
Recommended Combo Starters
| Starter | Follow-up | Purpose |
|---|---|---|
| 5MP~HP | Quick Dash~Run~Tatsu | Maximum corner carry |
| 2MK~DR | 2HP~Run~Stop~5MP~HP | High-damage combo route |
| 5HK (Punish Counter) | Drive Rush~5HP | Whiff punish conversion |
When you initiate a combo with 5MP~HP, you have a plethora of options. If you want to keep the opponent in the corner, end with a Run~Tatsu. If you want to switch sides and disorient them, use a Run~Dragonlash. The flexibility provided by these options is why Ken remains a favorite for players who value adaptability.
FAQ: Common Questions About Ken
Q: Is Ken a good character for beginners in SF6? A: Yes. Ken is very beginner-friendly because his "shoto" kit is intuitive. His moveset covers all bases—fireballs, anti-airs, and rushdown—allowing you to learn the fundamentals of Street Fighter 6 effectively.
Q: How do I deal with opponents who spam Drive Impact against my Jinrai kicks? A: If you notice the opponent trying to Drive Impact during your Jinrai sequence, stop using follow-ups and keep an eye on your own Drive Gauge. You can recover in time to counter-hit them with your own Drive Impact if you aren't over-committing to the string.
Q: What is the best way to practice Ken's combos? A: Start by practicing the 5MP~HP Target Combo in Training Mode until you can hit-confirm it reliably. Once you master that, practice the transition into Quick Dash (KK) to understand how to extend your combos.
Q: Where can I find more technical frame data for Ken? A: You can check the official Street Fighter 6 character page or consult the community-maintained SuperCombo Wiki for in-depth frame data tables and hitbox explanations.